
Studio light HDRI textures for product and packshot rendering
- 30 HDR Light textures are photographs of single light sources, not 360 degree environments.
- The collection covers 12 studio modifiers, 6 panels and LED lights, 9 practical lights and 3 signs.
- Every texture costs $9 and is listed as EXR with sRGB colour space and absolute luminance.
- You map a texture onto an area light or an emissive plane to get a real reflection shape in glossy products.
- All files are licensed for commercial use with no attribution.
HDR Light textures are photographs of real softboxes, umbrellas, LED panels, neon tubes and street lamps. Map one onto an area light or an emissive plane and glossy products, cars and jewellery get the reflection shape and falloff of a real studio light. The 30 textures cost $9 each and come as EXR files. They are single light sources, so combine them with an HDRI environment for fill.
Products
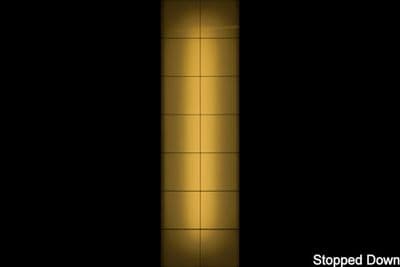
HDR Light Wall Light Panels
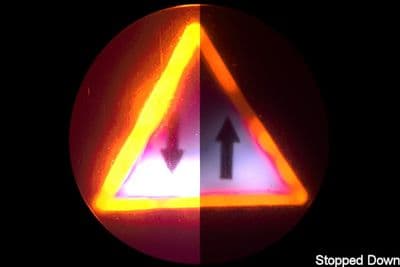
HDR Light Warning Red Arrow
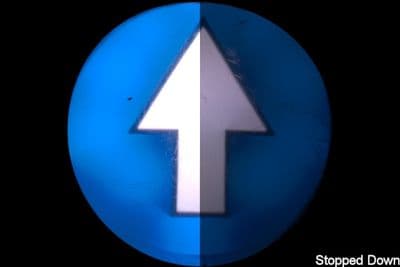
HDR Light Warning Blue Arrow
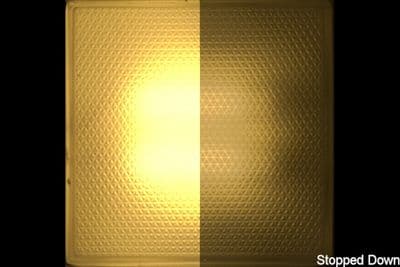
HDR Light Ceiling Rectangular
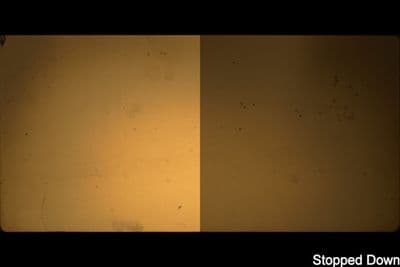
HDR Light Panel
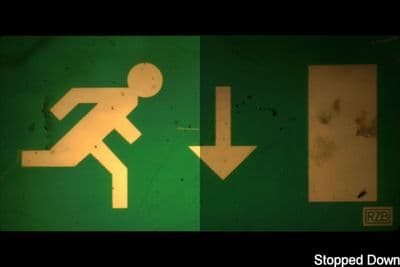
HDR Light Exit Panel
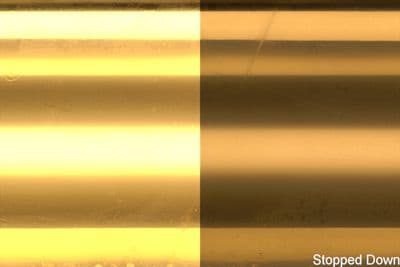
HDR Light Neon Light
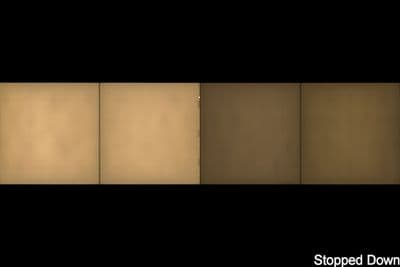
HDR Light Large Light Panel
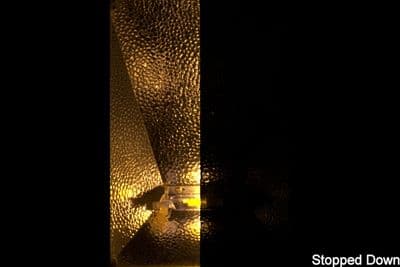
HDR Light Street Lamp 2
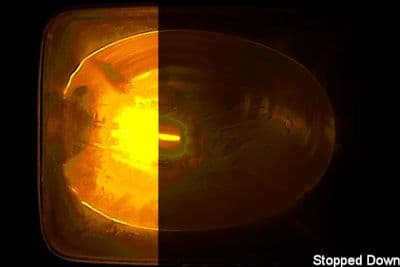
HDR Light Street Lamp 1
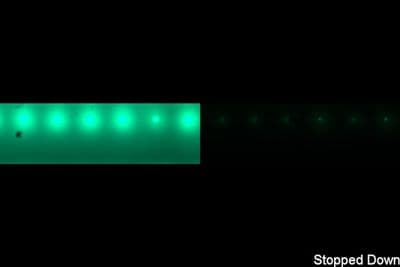
HDR Light Floor LED Stripe green
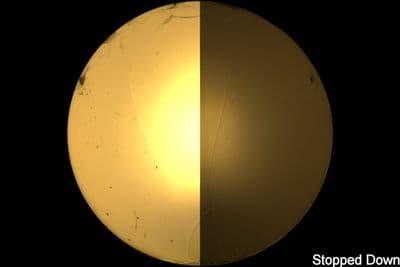
HDR Light Ceiling Half Bowl 2
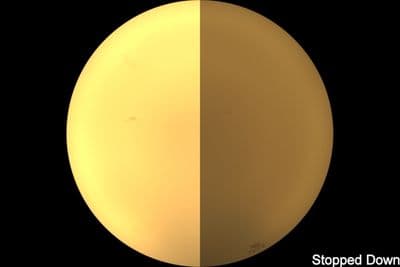
HDR Light Ceiling Half Bowl
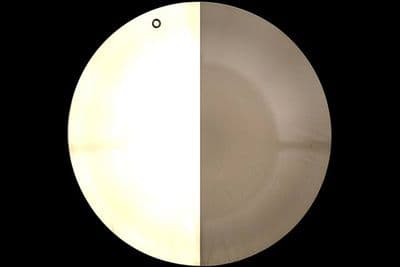
HDR Light Softbox Circular
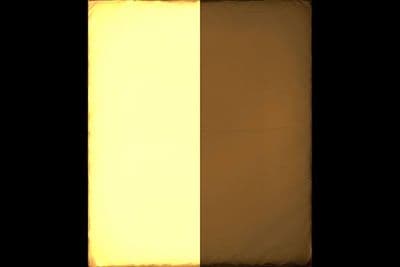
HDR Light Softbox Rectangular
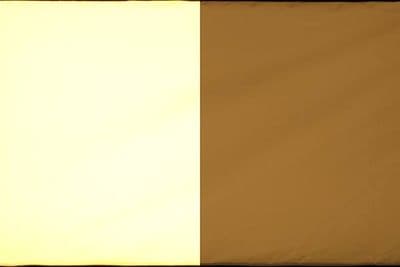
HDR Light Softbox Rectangular
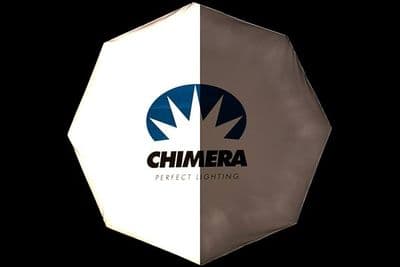
HDR Light Softbox Octagon
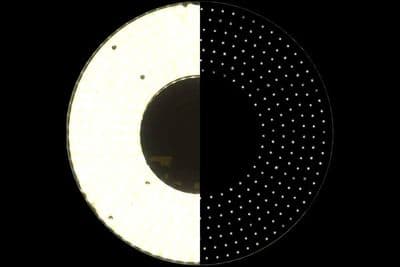
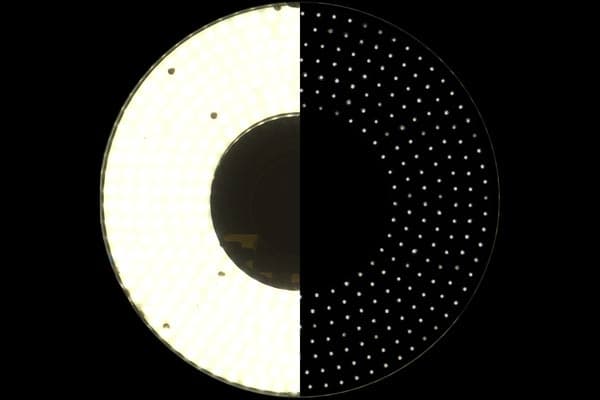
HDR Light LED Ring
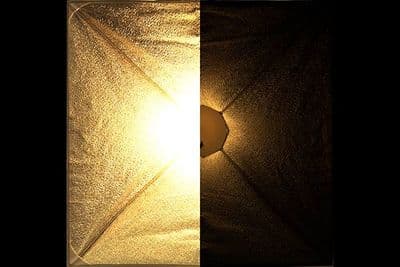
HDR Light Umbrella Rectangular
HDR Light Large Surface
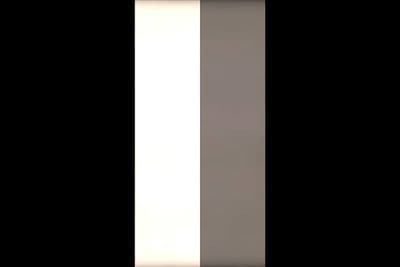
HDR Light Large Surface
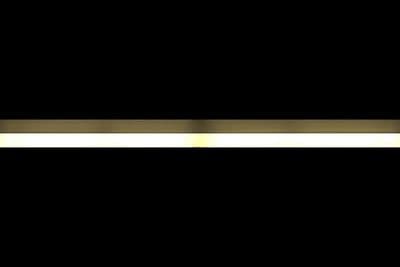
HDR Light Long Light Tube
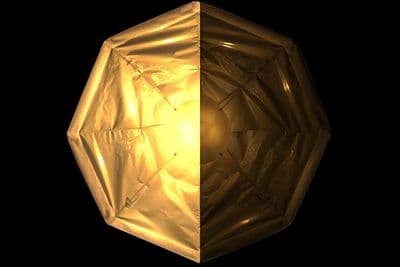
HDR Light Umbrella Octagon
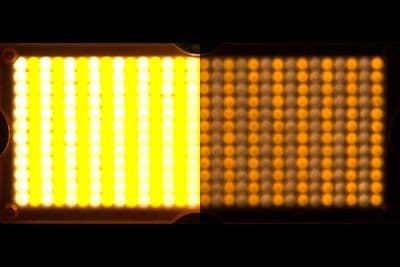
HDR Light LED Grid Yellow
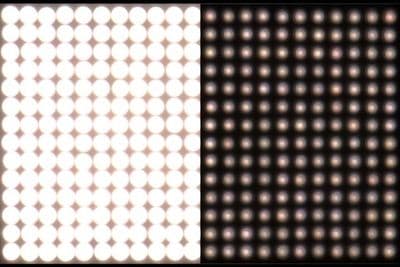
HDR Light LED Grid
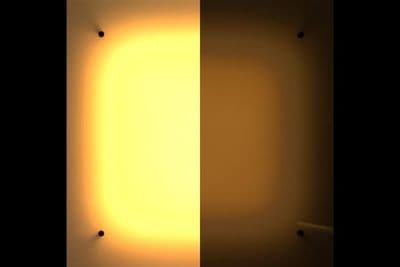
HDR Light Backlit Glass
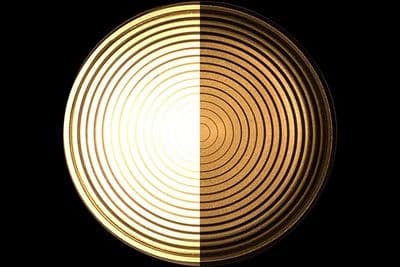
HDR Light Circular Fresnel
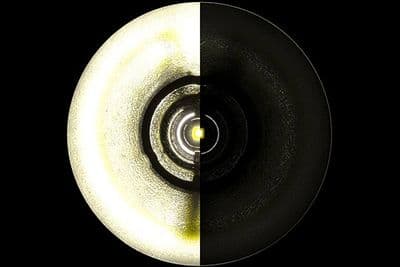
HDR Light Circular
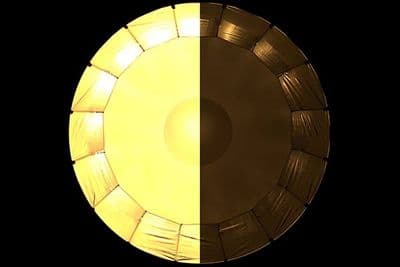
HDR Light Circular Umbrella
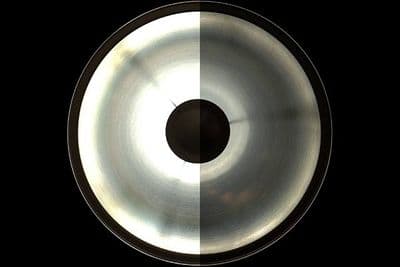
HDR Light Beauty Dish
What these light textures are
HDR Light textures are photographs of real light sources, saved as high dynamic range OpenEXR images. The collection has 30 of them: softboxes, umbrellas, a beauty dish, LED panels, a ring light, neon, tubes, ceiling lights, street lamps and warning signs. Each one is a flat picture of a single source, not a 360 degree studio environment. You do not load it as a world or dome. You map it onto a light or an emissive surface in your scene.
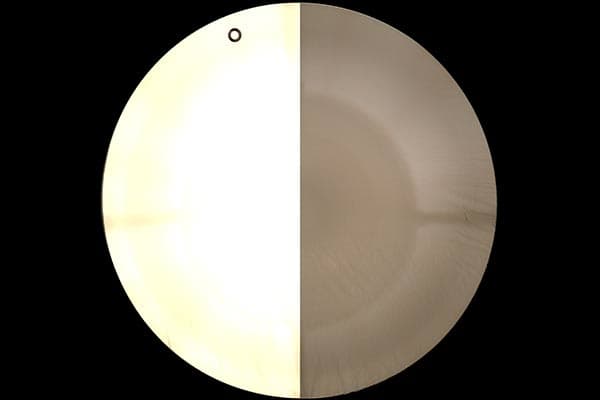
The product pages list the files as EXR, saved with absolute luminance so that different lights keep their correct brightness relation to each other. Colour space is listed as sRGB. 27 of the 30 are listed as unclipped, and 18 include an alpha mask. Each download is a .zip, and every texture costs $9 under a commercial licence.
Why a texture beats a plain white area light
A plain area light is a uniform rectangle or disc. A glossy product, a car panel or a piece of jewellery shows that light as a perfect, flat shape. Real lights are not like that.
- Reflection shape. The soft edge, the rim, the octagon outline or the ring hole is visible in every chrome, glass or lacquer reflection.
- Falloff. Brightness is not even across a real softbox. A texture carries the hot centre and the darker edge.
- Surface detail. Fabric, ribs, grids, LED dots and tube segments show up as fine structure in sharp reflections.
- Believable highlights. Photographers and clients judge a product render by its highlights. A real light shape reads as a studio shot, a uniform rectangle reads as CGI.
Rough, diffuse materials hide most of this. The gain is largest on glossy and metallic surfaces.
The 30 textures by type
| Type | Products | Count | Pixel sizes | Price |
|---|---|---|---|---|
| Studio modifiers | Softbox Circular, Softbox Octagon, two Softbox Rectangular, three umbrellas, Beauty Dish, Circular, Circular Fresnel, two Large Surface | 12 | 866 x 1772 to 2850 x 2850 | $9 each |
| Panels, LED and tubes | Backlit Glass, two LED Grid, LED Ring, Long Light Tube, Large Light Panel | 6 | 206 x 2072 to 1167 x 4614 | $9 each |
| Practical and architectural | Two Ceiling Half Bowl, Ceiling Rectangular, two Street Lamp, Neon Light, Floor LED Stripe green, Wall Light Panels, Panel | 9 | 163 x 4579 to 1011 x 5568 | $9 each |
| Signs | Exit Panel, Warning Blue Arrow, Warning Red Arrow | 3 | 701 x 701 to 1587 x 1058 | $9 each |
All 30 are in the Light Textures category. Pixel sizes are the sizes listed for each product, shown as width x height.
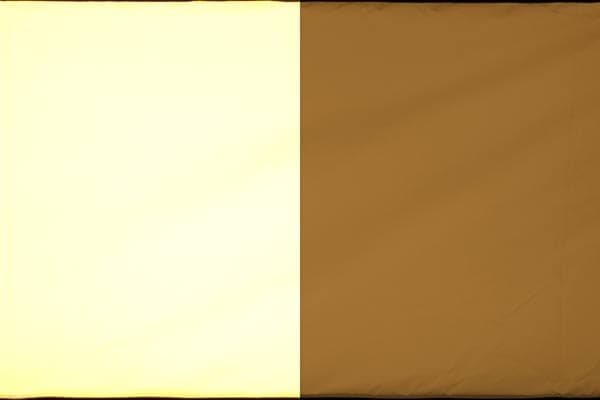
How to use a light texture
The steps are the same in every renderer.
- Create a rectangle, disc or plane light, or a flat mesh, with the same aspect ratio as the texture. A 2576 x 884 softbox needs a long rectangle, not a square.
- Assign the EXR to the light colour or to an emission colour. Keep it as linear data.
- Place the light outside the camera view, next to or above the product. The product only needs to reflect it.
- Set brightness by eye and by exposure. The texture carries relative values, so scale the light intensity or emission strength until the product is exposed correctly.
- Test with a glossy material. Check that the reflection shows the shape you want and move the light until it lands on the edge you want to highlight.
- Use the alpha mask where one is included, so only the lit shape emits.
Renderer specifics
These points are checked against current official documentation.
- V-Ray. The rectangle light has a colour and texture slot. The documentation states that a high dynamic range texture can be used there, that the map checkbox must be enabled, and that the texture alpha is used as opacity. It also has an Invisible option, useful when the light should not appear in the frame.
- Corona. The Corona Light Material has a map slot. A map assigned there is the texture projected by the material. Apply it to a plane. Its Directionality setting controls how concentrated the emission is around the normal.
- Blender (Cycles). Use an Emission shader on a plane. It has Color and Strength inputs, and an image texture can drive the colour. Cycles is the renderer that supports light shaders.
- Arnold and others. Use a quad or area light with a texture input, or an emissive mesh. Look up the exact setting name in your renderer's documentation.
Practical lights for interiors and night scenes
The practical lights suit interiors and night scenes rather than packshots. Put a ceiling half bowl or a wall light panel on an emissive plane or mesh fitted to your lamp geometry. Use the neon, the floor LED stripe, the street lamp and the warning arrows for signs, corridors and night street views. An exit panel on a door adds a believable accent. For wider scene types see the interior HDRIs and night city HDRIs.
Pairing with an HDRI environment
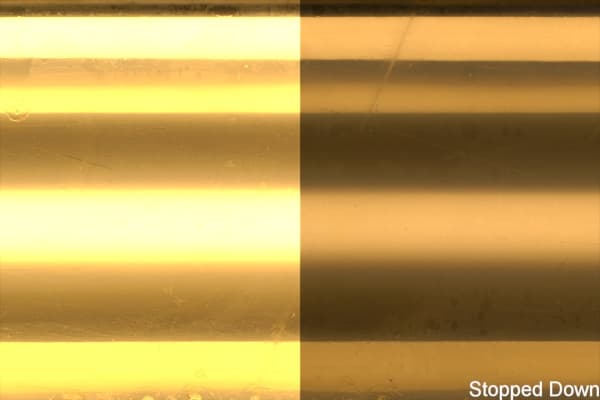
A light texture gives you the main reflection. It does not give you a surrounding world. Add an HDRI environment at low strength for fill and for background reflections, so that dark areas of the product are not pure black. In a studio look, keep the environment dim and let the softbox dominate. For an interior or outdoor product shot, let the HDRI be the key light and use the light texture as a kicker or highlight. See how to choose an HDRI for picking the environment.
Frequently asked questions
Are these 360 degree studio HDRIs?
No. Each file is a flat texture of one light source, such as a softbox or an LED panel. You map it onto an area light or an emissive plane. For a surrounding environment, add a separate HDRI.
Which file format do the light textures use?
The product pages list all 30 as EXR with sRGB colour space. They are saved with absolute luminance, so the lights keep a correct brightness relation to each other. Each purchase downloads as a .zip.
Can I use them for glossy products, cars and jewellery?
Yes. That is where they help most. Sharp reflections on chrome, glass, paint and gemstones show the shape and falloff of the light, which a uniform white area light cannot provide.
Do they work in V-Ray, Corona, Blender and Arnold?
Yes in principle. V-Ray and Corona have documented texture slots on their light types and materials. In Blender, use an Emission shader on a plane. For Arnold, use an area light with a texture input or an emissive mesh, and check the exact setting in its documentation.
What does the alpha mask do?
Where one is included, the alpha mask limits the emitting area to the shape of the light. The product page states for each texture whether an alpha mask is included.
How much do they cost and what is the licence?
Every texture costs $9. They are licensed for commercial use with no attribution required.
Should I light a scene with a texture or with an HDRI?
Use both. The HDRI provides ambient light and background reflections, and the light texture adds the controlled, shaped highlight.