
HDRI panoramas for Cinema 4D
- HDRI Hub offers 161 outdoor HDRI panoramas that load onto a Cinema 4D Sky object or into a Redshift Dome Light.
- Resolutions run from 4096x2048 to 20000x10000, with 25 files at the 20000x10000 size for a visible sky.
- Files are delivered as OpenEXR (.exr) for skies from HDR 142 onwards and as Radiance (.hdr) for earlier skies and all sIBL sets; the product page lists the format of each item.
- 34 of the HDRIs keep the sun disc unclipped, which lets the Physical renderer or Redshift trace a defined sun shadow.
- The Standard and Physical renderers both read the same Sky object material, so no renderer-specific file is needed.
Cinema 4D lights a scene from an HDRI either through a Sky object's material or through a Redshift Dome Light, depending on the renderer in use. The panoramas below work with both setups, from lighting-only resolutions to 20000x10000 for a visible sky.
Products
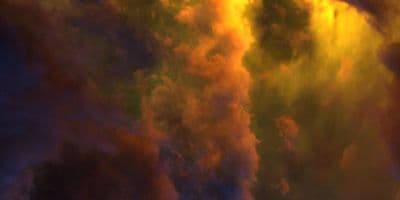
HDR 180-8 Space Sky with Nebula

HDR 180-5 Space Sky with Galaxy
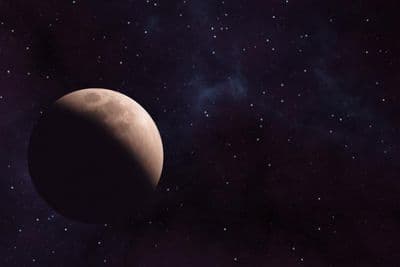
HDR 180-6 Space Sky with Planet

HDR 180-7 Space Sky with Sun
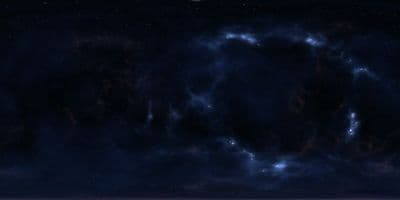
HDR 180-4 Space Sky and Stars
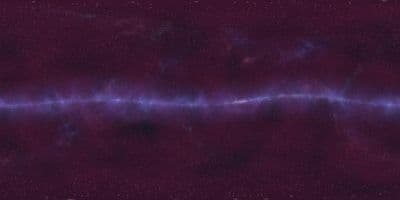
HDR 180-3 Space Sky with Stars + Milky Way
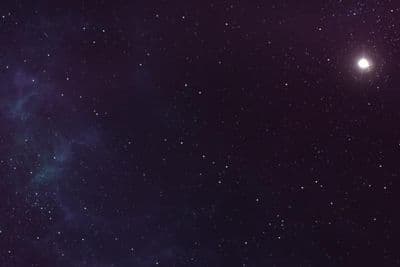
HDR 180-2 Space Sky and Stars
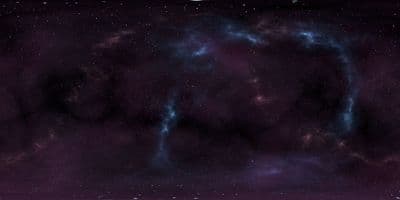
HDR 180-1 Space Sky and Stars
Above the Clouds Bundle 01 (zDepth not included)
HDR Pack 014
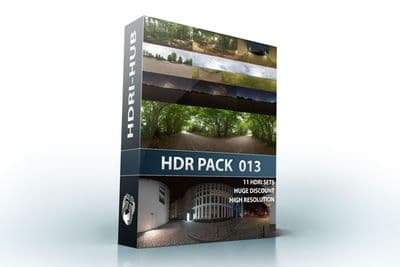
HDR Pack 013
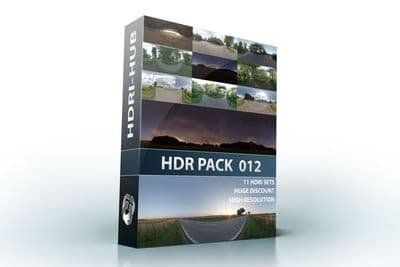
HDR Pack 012
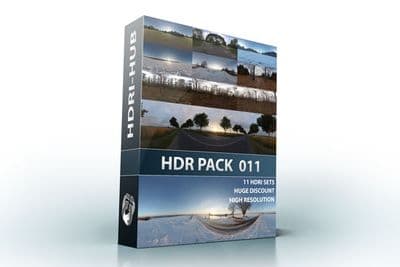
HDR Pack 011
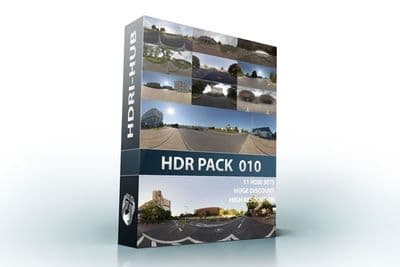
HDR Pack 010
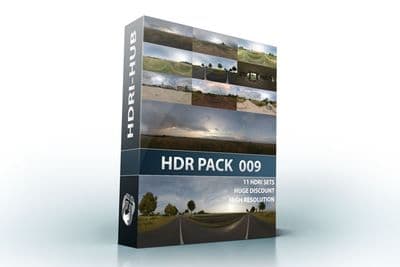
HDR Pack 009
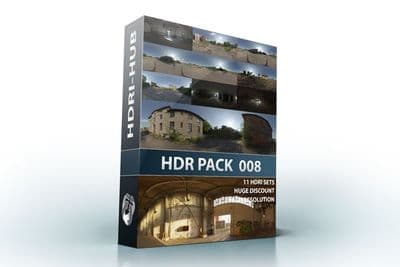
HDR Pack 008
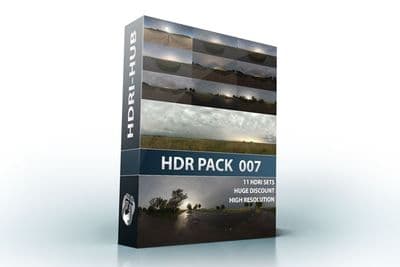
HDR Pack 007
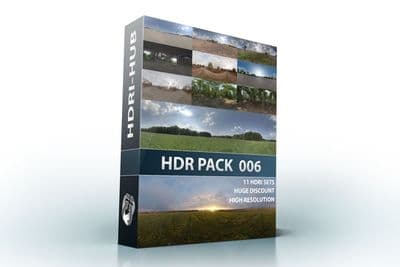
HDR Pack 006
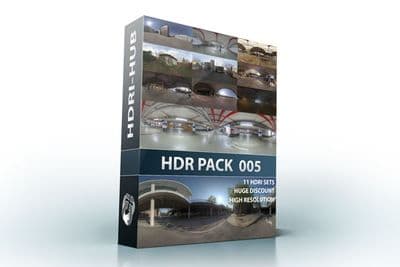
HDR Pack 005
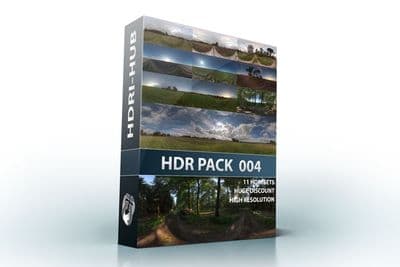
HDR Pack 004
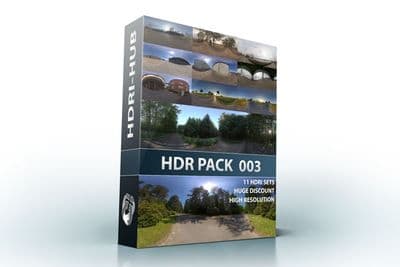
HDR Pack 003 Roads
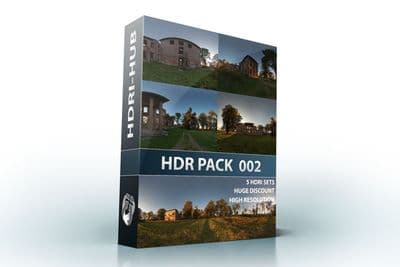
HDR Pack 002 Ruin
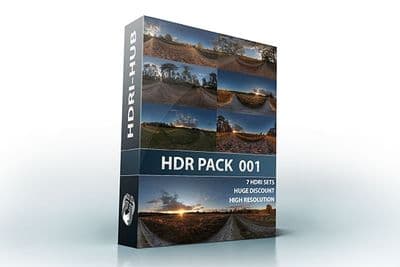
HDR Pack 001 Meadow
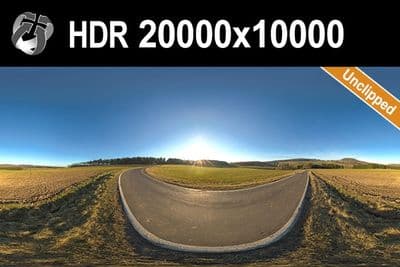
HDR 142 Rural Road 20k
HDR 171 City Road Night
HDR 171 City Road Night 8k
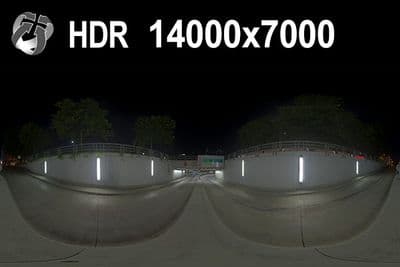
HDR 169 Entrance Garage Night 14k
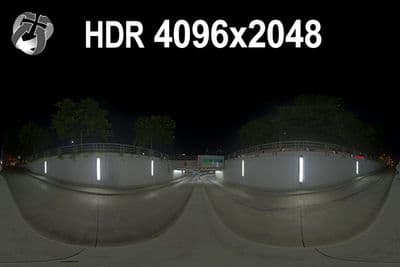
HDR 169 Entrance Garage Night
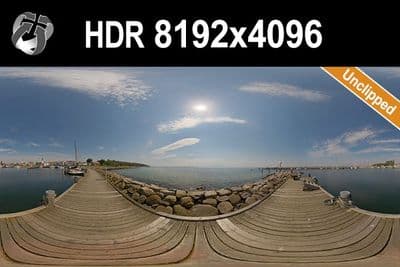
HDR 168 Sea Harbor Sunny
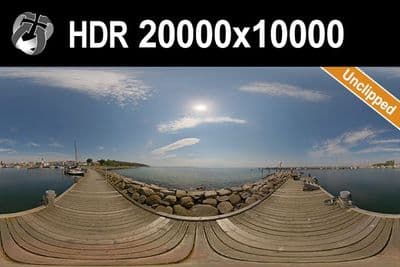
HDR 168 Sea Harbor Sunny 20k
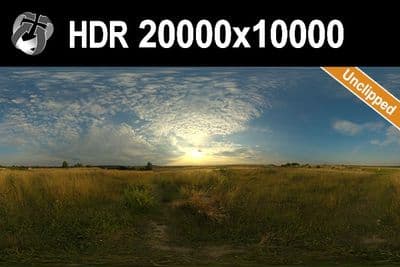
HDR 167 Sunny Dusk Clouds 20k
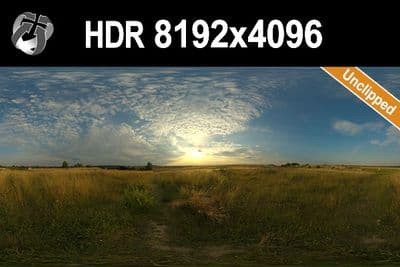
HDR 167 Sunny Dusk Clouds
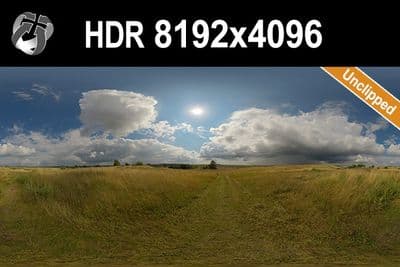
HDR 166 Sunny Storm Clouds
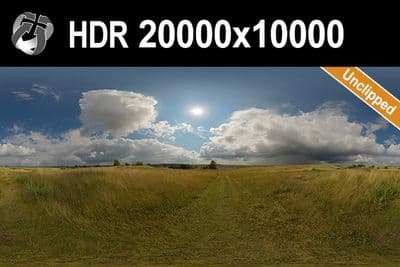
HDR 166 Sunny Storm Clouds 20k
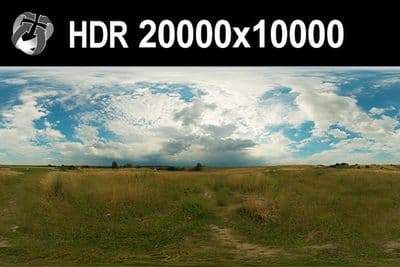
HDR 160 Cloudy Sky 20k
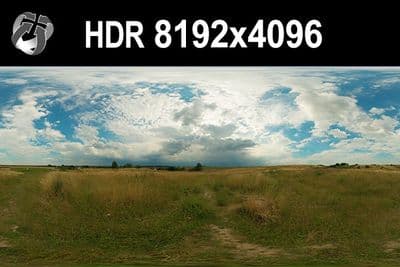
HDR 160 Cloudy Sky
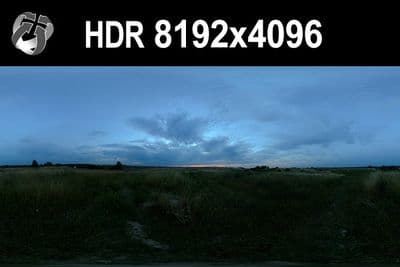
HDR 159 Blue Evening Sky
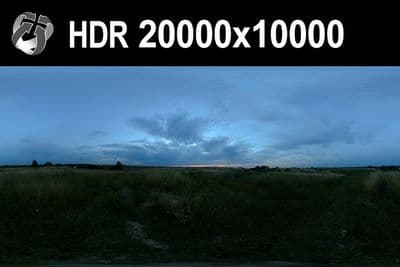
HDR 159 Blue Evening Sky 20k
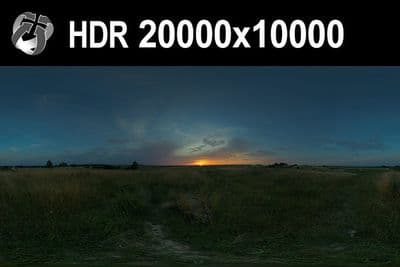
HDR 158 Blue Evening Sky 20k
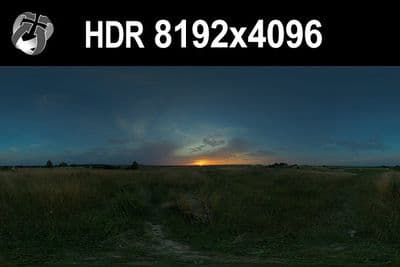
HDR 158 Blue Evening Sky
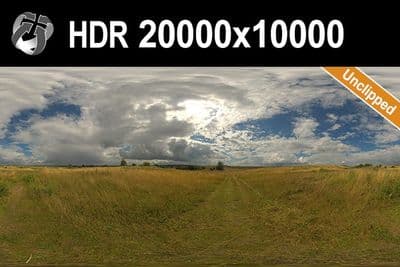
HDR 165 Big Clouds Sky 20k
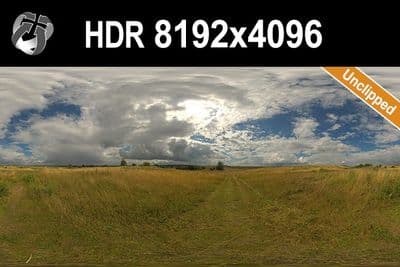
HDR 165 Big Clouds Sky
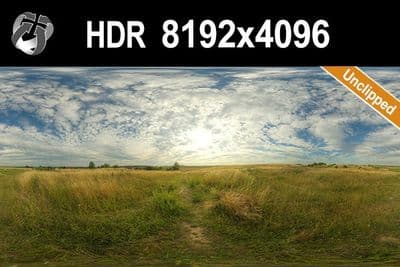
HDR 164 Cloudy Sky
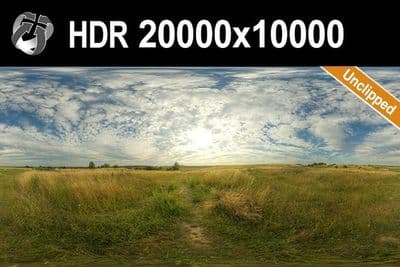
HDR 164 Cloudy Sky 20k
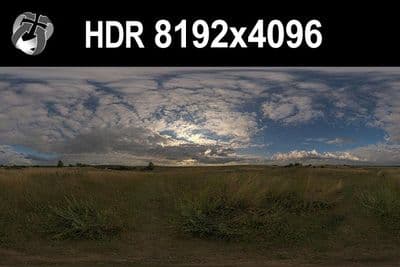
HDR 148 Cloudy Evening Sky
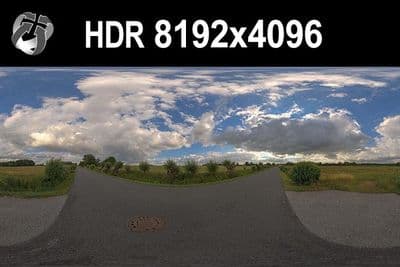
HDR 147 Rural Road Cloudy Sky
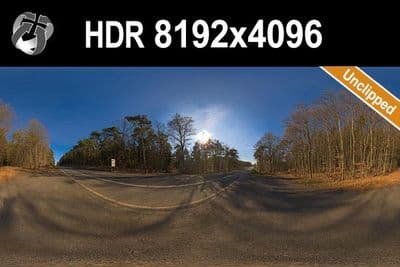
HDR 145 Rural Road Clear Sky
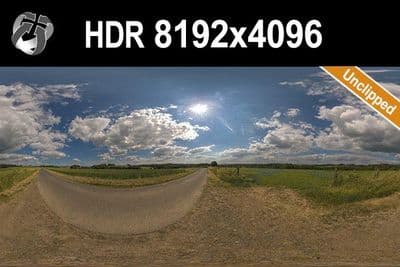
HDR 144 Rural Road Cloudy Sky
Load an HDRI in Cinema 4D 2026 (Standard and Physical)
- In the object menu bar, click the small arrow at the lower right of the Floor icon and choose Sky to add a Sky object to the scene.
- Create a new material in the Material Manager, double-click to open the Material Editor, then uncheck Color and Reflectance and enable only Luminance.
- In the Luminance channel, click the texture slot and load a 32-bit .exr or .hdr file.
- Drag the material from the Material Manager onto the Sky object in the Object Manager to assign it.
- In Render Settings, add Global Illumination to the effects list so the Sky object's Luminance channel also lights the scene, not just the background.
Try before you buy: the free HDRI samples need no account and carry the same licence as the paid files, so you can check the setup above with a real file before buying.
Load an HDRI into a Redshift Dome Light
- Create a Redshift light object and set its Type to Dome in the light's General tab.
- In the Dome Light's Texture field, load the .exr or .hdr file.
- Use Intensity for a plain brightness multiplier, or Exposure to adjust brightness in stops, where an increase of 1.0 doubles the light.
- Rotate the Dome Light object itself in the viewport to turn the HDRI, since the light has no separate rotation field of its own.
Which resolution
A 4096x2048 to 8192x4096 file is enough when the HDRI only lights the scene, since both the Sky object and the Redshift Dome Light resample the texture for GI. Use 16000x8000 or the 20000x10000 files when the sky is directly visible behind the model or in glossy reflections.
Sun and shadows
An unclipped sun disc keeps the sun's true brightness in the file instead of clamping it to white, so the Physical renderer or Redshift can trace a sharp shadow straight from the HDRI. 34 of the outdoor HDRIs on HDRI Hub are unclipped, and none of them need an extra sun light added to the scene.
Frequently asked questions
Sky object or Redshift Dome Light?
Use a Sky object with a Luminance-only material for the Standard and Physical renderers, and the Dome Light's Texture field for Redshift. Both read the same .exr or .hdr file.
Why is the sky visible but not lighting the scene?
For the Physical and Standard renderers, Global Illumination must be enabled in Render Settings, and the material must use the Luminance channel, not only Color.
How do I rotate the sun?
Rotate the Sky object or the Dome Light object on its Heading axis. Neither has a separate rotation field for the texture.
Can I use a different HDRI for lighting and for the camera?
Yes. Add a second Sky object and use Compositing tags to make one visible to the camera only and the other to GI and reflections only.
More background: which HDRI resolution you need and .hdr or .exr.